Let's Remodel This Bathroom!
As most of you know, from my previous post, I recently purchased the home I’ve been renting for the past ten years. The list of projects is long, but I’ve decided to start in the hall bathroom. This bathroom is located off the main hallway, between the guest bedroom and my son’s bedroom. My son is 15 and uses it every day, but it’s also my guest bath.
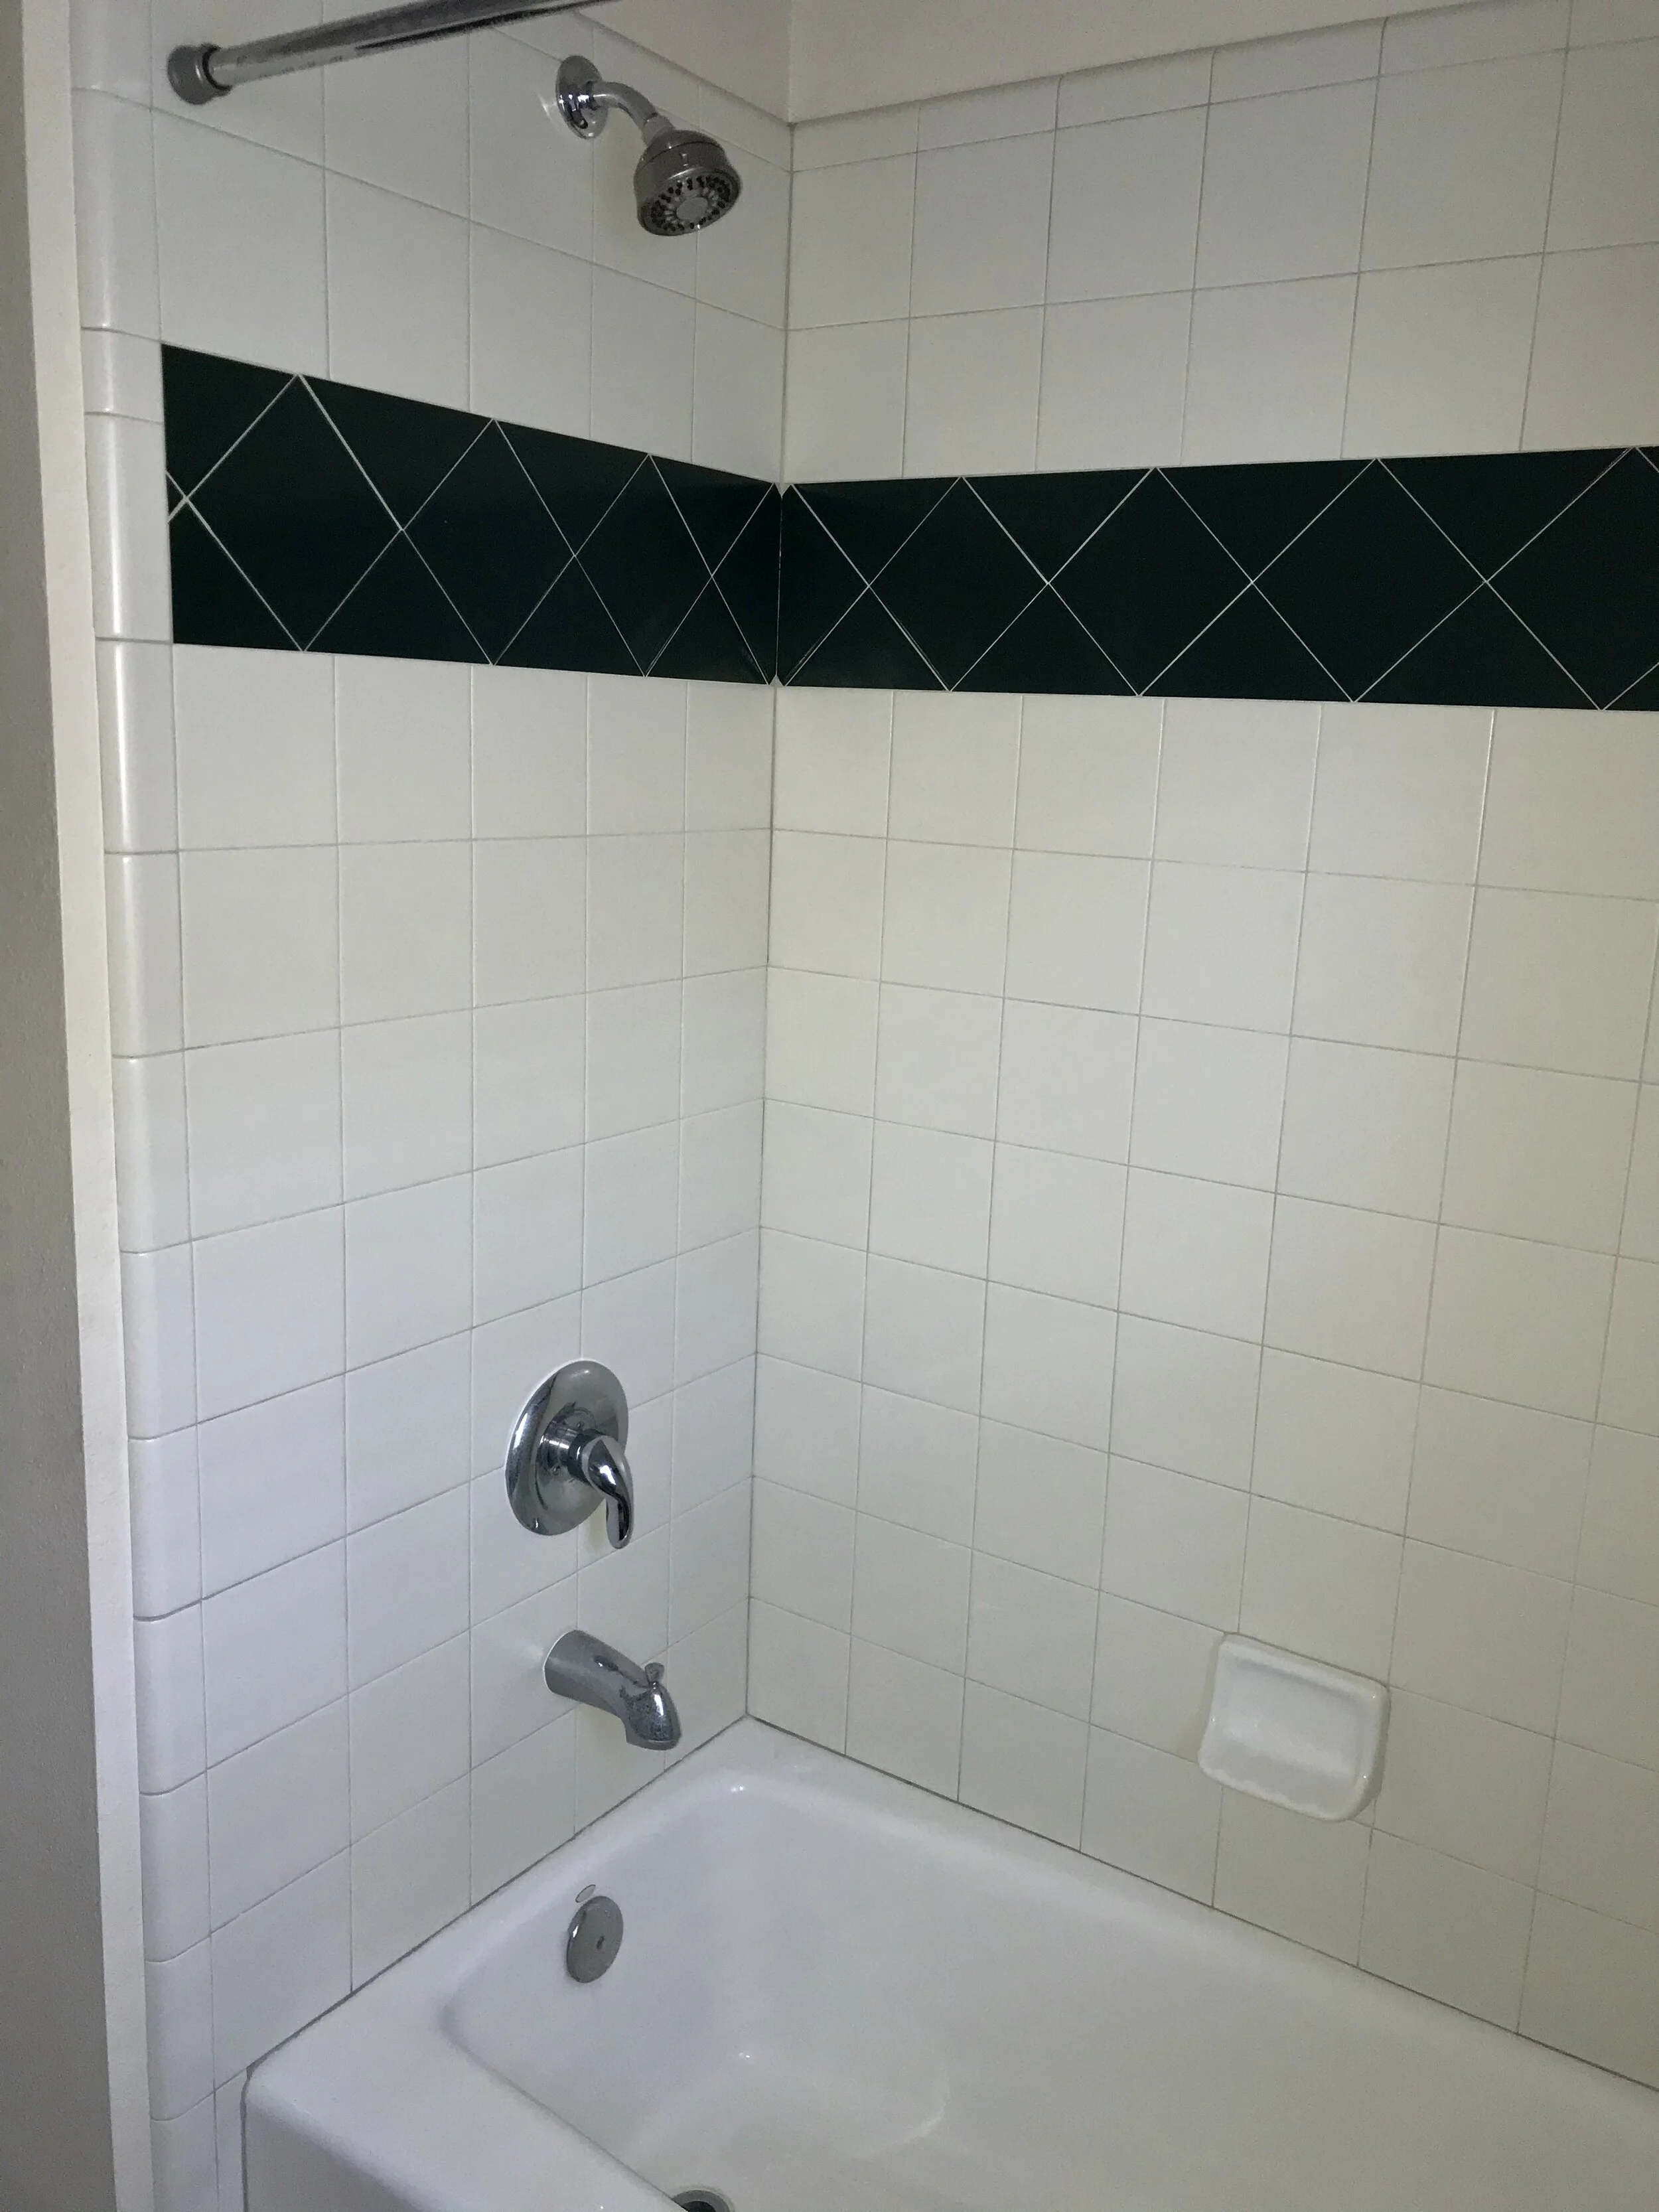
The reason I picked this space to start is because it’s the easiest to finish and as I always tell my clients; start with one room and finish it 100%. Doing just a little bit in each room doesn’t give you a sense of accomplishment you need when starting a renovation. So as a “newbie” I’m going to follow my own advice! To save time and money, I’ve decided to keep the tub and existing tile surround. It’s in great shape and the tile isn’t horrible. I may see about freshening up the grout and I’m definitely changing the faucet trims.
Here are the steps to a successful bathroom renovation, along with my planned changes:
GET ESTIMATES. My tile installer is on the top of my list so he can tell me how much floor tile I’ll need and he’s busy, so I want to get on his calendar so I can plan all the other trades. I’ll also reach out to my favorite plumber to get a quote for installing a new toilet, new trim in the tub and a new sink faucet. Last, I’ll bring in my wallpaper hanger so the walls can be measured for the amazing paper I have planned!
ORDER THE MATERIALS. When you have a small project, with a tight time frame, you should have all the materials on site before you start the work. For this bathroom, that includes floor tile, vanity, light fixture, plumbing fixtures, bath accessories and wallpaper.
SCHEDULE THE DEMO. Once all my materials are here, the demo will begin. This will be pretty easy as we are only going to be removing the existing cabinetry, toilet and mirror. I’m hoping my tile installer will remove the stick-on vinyl tiles my landlord lovingly installed on top of stained sheet vinyl. If not, those will be removed in the demo phase.
FLOOR TILE. The first step in putting this bathroom back together will be installing the floor tile. Sometimes you can start with the cabinetry, but because my vanity is open underneath, tile will be first.
VANITY & PLUMBING. Now it’s time to get the water back on! The vanity I’m using comes with a countertop and sink, so that will eliminate a time consuming step of waiting on counters to be measured.
PAINTING. Because I’m using wallpaper, the painting work is minimal. All the trim and doors will get a fresh coat of white paint.
WALLPAPER. We’re almost there and can see the finish line. Before we change the light, let’s get the paper up.
ELECTRICAL. Another easy phase since we are only changing out the existing light with a new one.
FINAL DETAILS. This last phase includes all the finishing touches. Decorative mirror, towel bars, toilet paper holder, shower curtain and window treatment. Plus, a few great pieces of art and a pretty rug!
Less than 10 steps to a new bathroom! As with all remodeling projects, you should plan for the unexpected. Thankfully, we have another bathroom and there’s only two of us who live here. So being without a bathroom isn’t the end of the world.
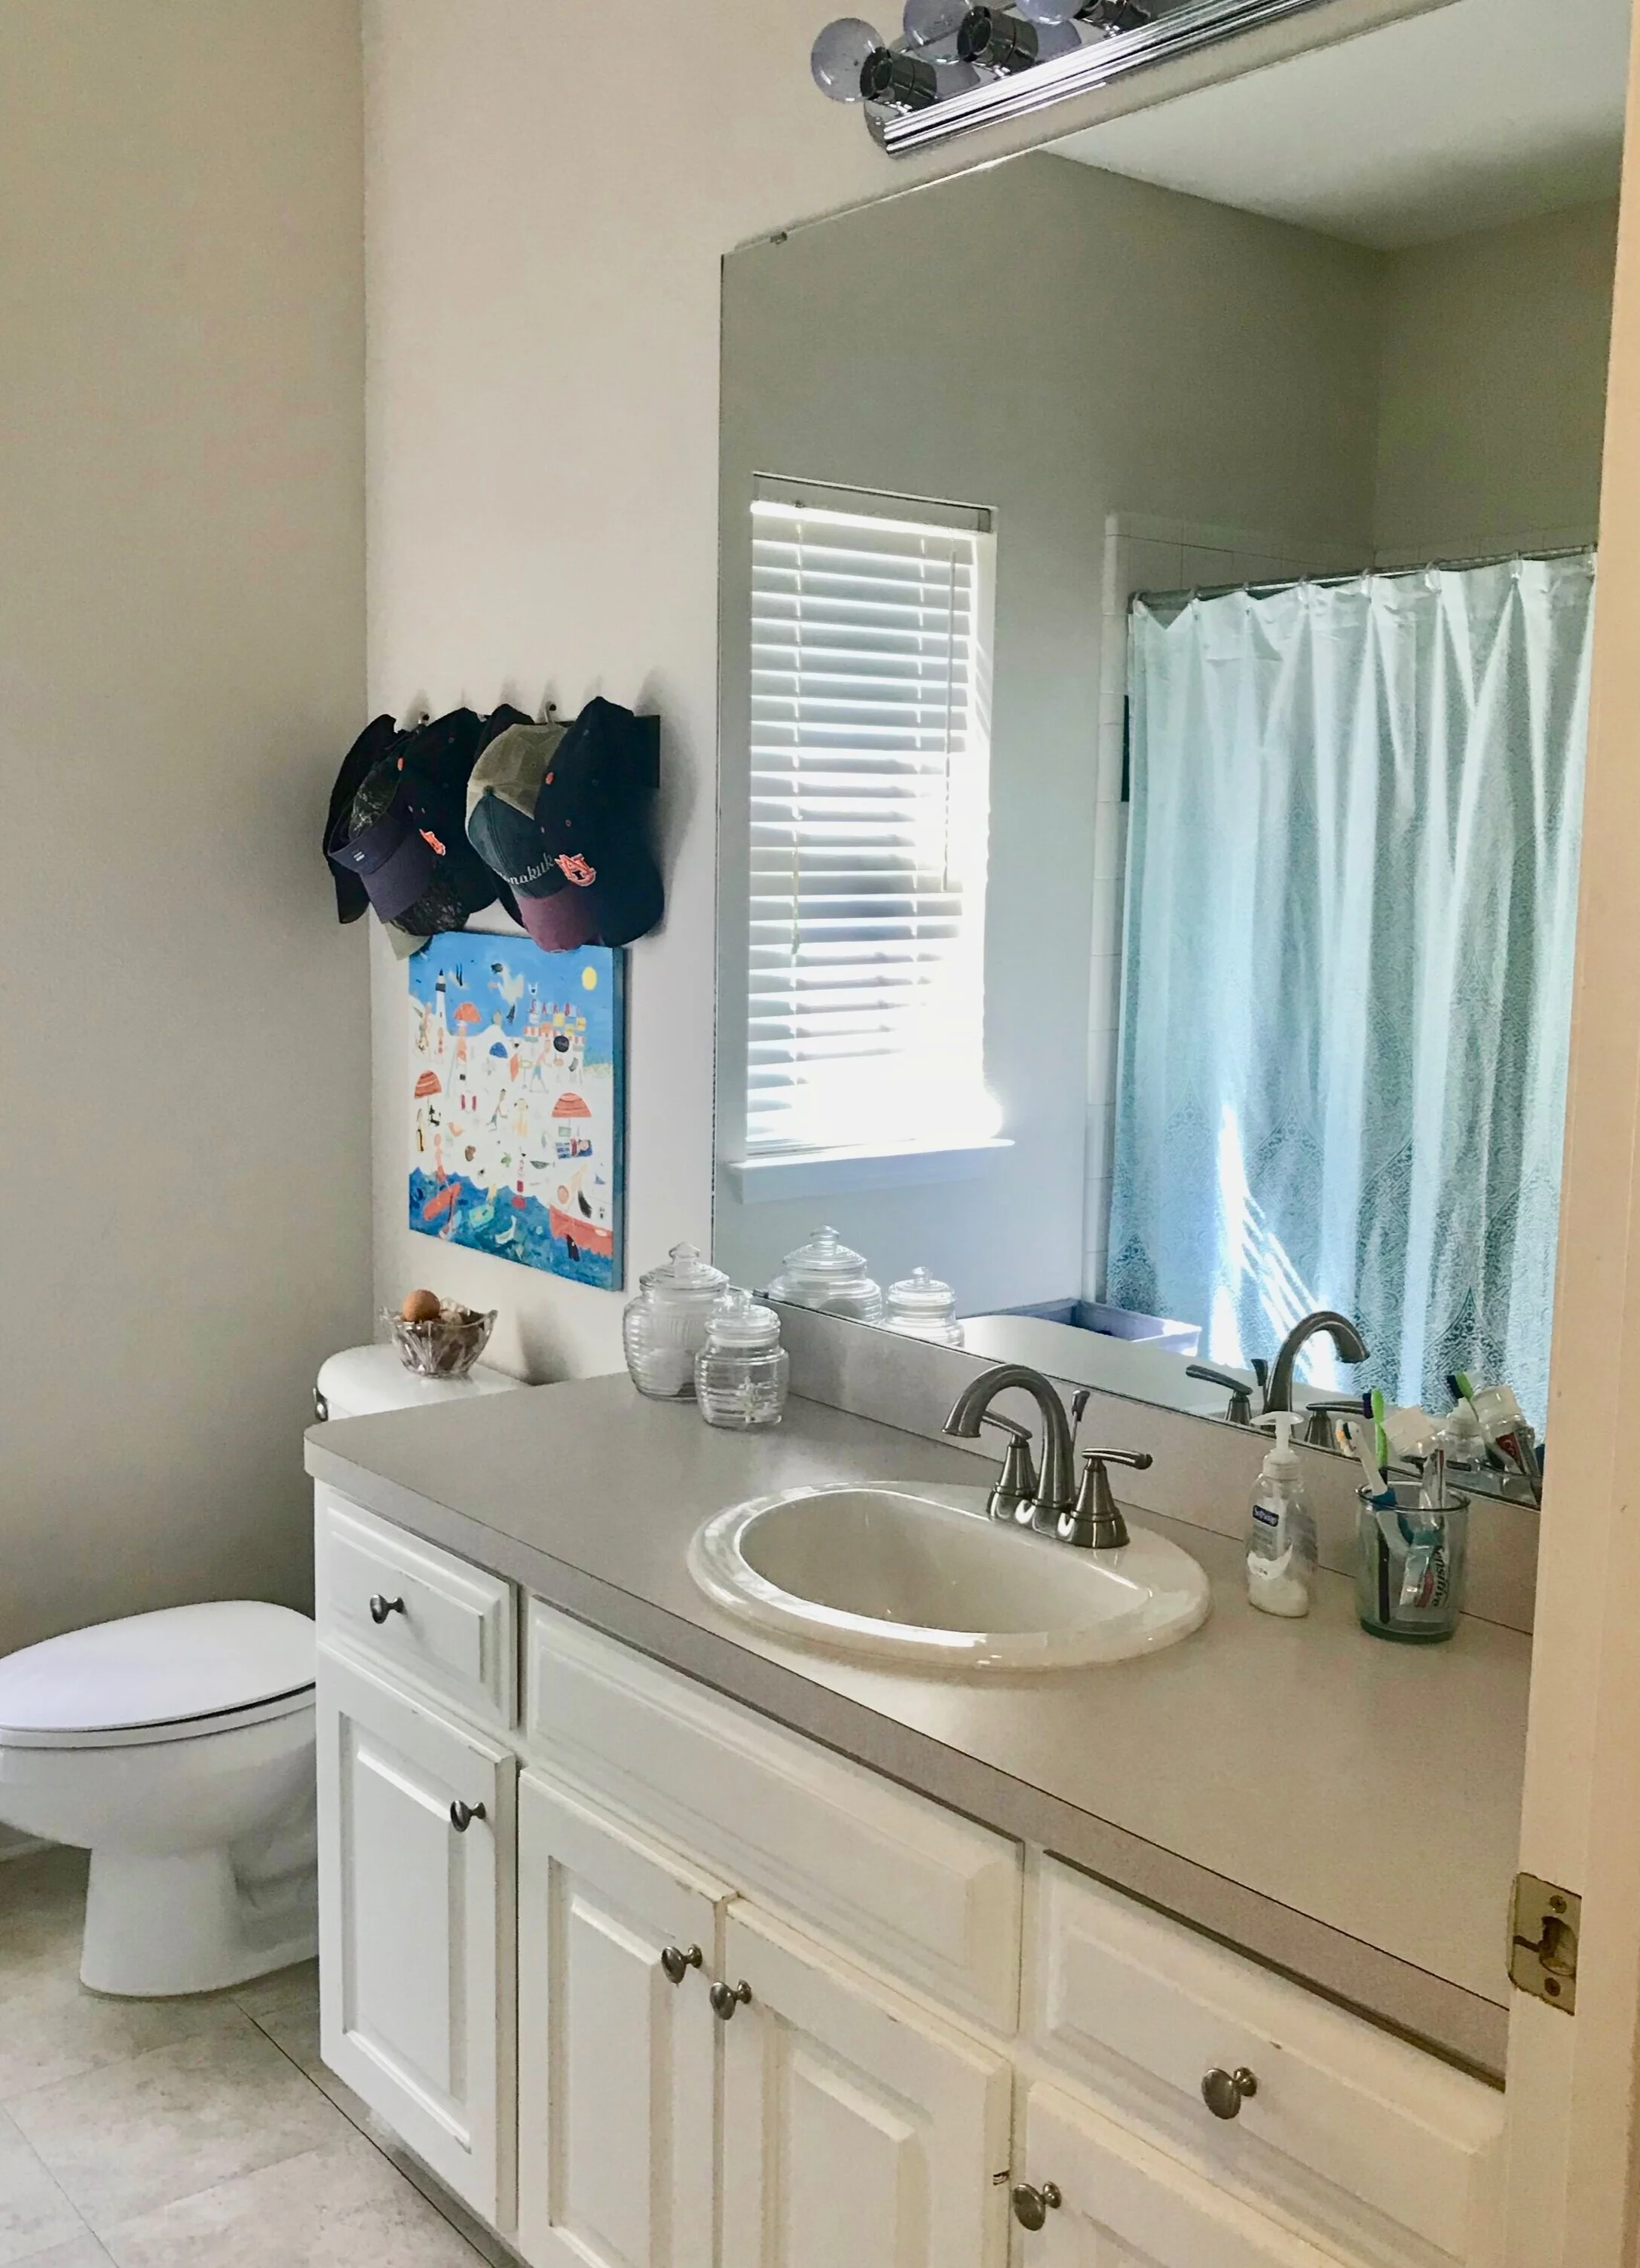
Here is what the bathroom looks like today. Can you say “BLAND AND BORING”?
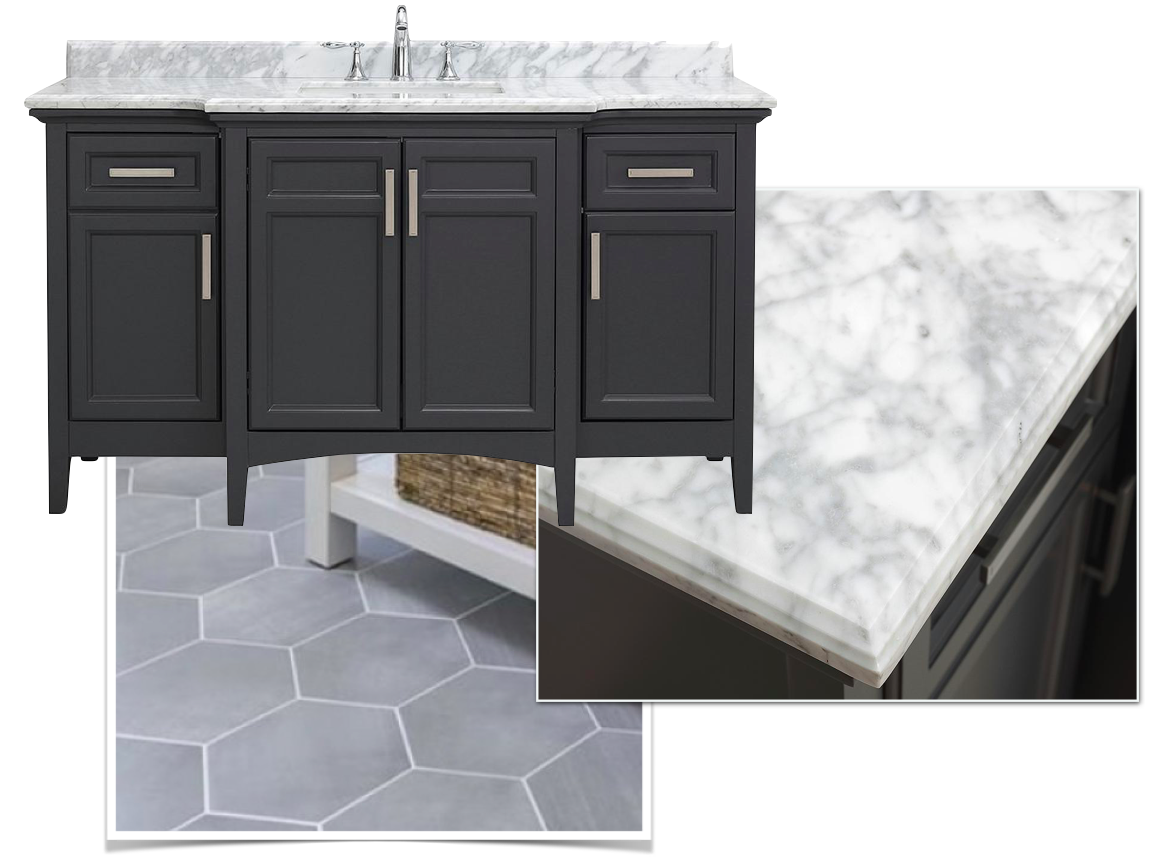
Like with most of my clients, I’m on a budget and only want to spend $4,000 on this room. I’m going to be very up front on ACTUAL COSTS for this project and let’s see how close I come to my goal. The first thing I’ve purchased is this vanity from Home Depot. I spent a lot of time researching options and reading reviews and felt like this piece checked most of my boxes - size, color, includes counter and sink. Many single sink vanities are smaller than what I needed (60”) and I knew I didn’t want white. One day I just popped on the Home Depot site and saw my vanity was 40% off - so I ordered it. About a week later it arrived and I’m super excited that it’s as good looking in person, especially the counter. This piece, with shipping and tax was $966.86.
Because I’m leaving the tub tile, I thought I wanted something pretty interesting for the floor. Either a patterned tile or a mosaic, but I landed on a simple gray tile in a large hexagon shape. Simple color - interesting shape. And yes, I’m going to use white grout as this will connect the floor tile with the tub tile. Another way to keep your budget down is to use the same faucet brand as you currently have. This makes it easy to switch out the trims in the tub. I currently have Moen, which gave me lots of budget friendly options and I selected the Gibson faucet in chrome with the matching tub/shower trim. For lighting, this is where I love doing something fun as it’s one of the easiest things to change later. I’m going with this light from Tallahassee Lighting and I love the mix of the black and chrome finishes. Before I order any of these things I’ll confirm with my plumber, electrician and tile installer that they will work.
Now, that I have all the nuts and bolts figured out it’s time to work on the pretty finishing touches. I know I’m going to do wallpaper, but I’m still on the fence with the final choice. I’m going to put a few fabrics with my favorites and see where it leads. Custom shower curtains are expensive, so my plan is to find some ready-made drapery panels I can have sewn into a shower curtain and for the window, I’m going to do a simple roman shade. I’ll also need towel bars, a mirror and wall decor. Decisions, decisions!
I’m excited to bring you on this journey. I promise to post another update once the work begins and share some real costs. I’m ready to start demo!
Thanks for Reading!
Jennifer


